

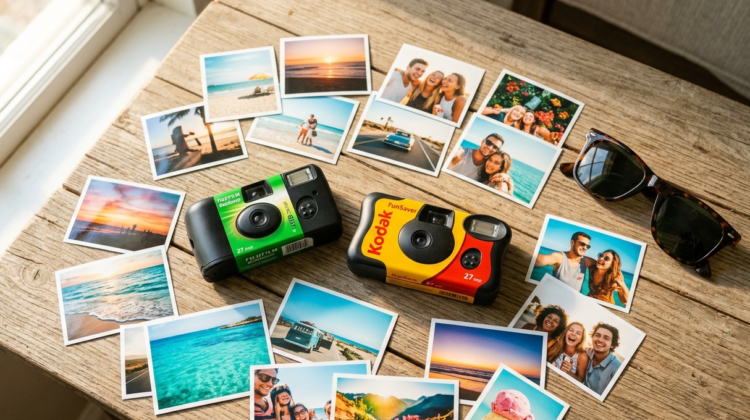
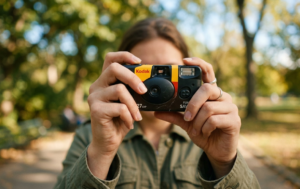
There is nothing quite like the excitement of dropping off a single-use film camera at the local lab and waiting to see how your frames turned out. However, that excitement can quickly turn into disappointment if half of your developed scans come back completely dark, blurry, or out of focus.
Unlike modern smartphone cameras that feature advanced autofocus motors and artificial intelligence processing, a disposable camera is built with simple plastic optics and a fixed shooting configuration. It does not know if you are standing too close to your subject or shooting in total darkness.
Best Cheap Film Cameras Under $50 in 2026
If you want to stop wasting your precious frames, you need to know how to handle these vintage point-and-shoots properly. Here are 10 essential tips on how to use disposable camera units correctly to ensure crisp, vibrant, and perfectly exposed retro memories every single time.
10 Essential Tips to Get Crisp, Sharp Film Shots
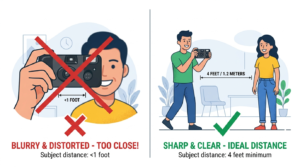
1. Always Keep Your Distance (Avoid the 3-Foot Trap)
Most single-use compacts feature a fixed plastic lens element with a focus range set from around 3 or 4 feet to infinity. If you try to take a close-up macro shot of a flower, a food plate, or a close portrait of a friend’s face, the image will turn out completely blurry. Always take at least three big steps back before pressing the shutter.
Ready to start shooting sharp vintage frames?


Specifications
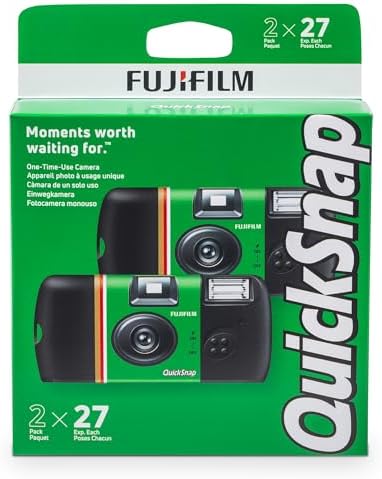
- • Brand: Fujifilm
- • Special Feature: Built In Flash, Compact, Timer
- • Film Format Type: 35mm
- • Item Weight: 90 Grams
- • Item dimensions L x W x H: 6 x 4.88 x 1.3 inches
- • Included Components: Camera Body Only
- • Model Name: 7176742
- • Film Color: Colored
- • Compatible Devices: Most 35mm film cameras
- • Min Shutter Speed: 1/140 Seconds
- • Batteries: 1 Lithium-ion battery is required. (included)
- • Features: Built In Flash, Compact, Timer
- • Film Color Type: Colored
2. Force the Flash Indoors (Even If It Seems Bright)
Film layers inside point-and-shoots are incredibly hungry for light. Standard indoor room lighting that looks perfectly bright to human eyes will register as pitch black to a 400 ISO or 800 ISO film sheet. Unless you are standing directly under open, cloudless midday sunlight, turn on your flash manually.

3. Hold the Camera Dead Still
Smartphone sensors use Optical Image Stabilization (OIS) to fix shaky hands. Disposable bodies do not. When you click the top plastic shutter switch, the mechanical mechanism stays open for a fraction of a second (usually around 1/100s). If your hands shake or your subject moves rapidly during that brief window, motion blur will ruin the frame. Hold your breath and steady your elbows!
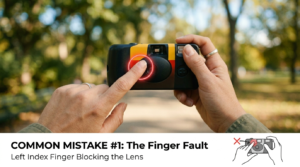
4. Watch Out for Your Left Index Finger
Because these bodies are incredibly small and compact, it is shockingly easy for your left index finger to creep forward and partially block the front plastic lens ring or the tiny flash bulb window. You won't notice it through the plastic optical viewfinder window because the viewfinder is separate from the actual image lens! Always check your grip before firing.
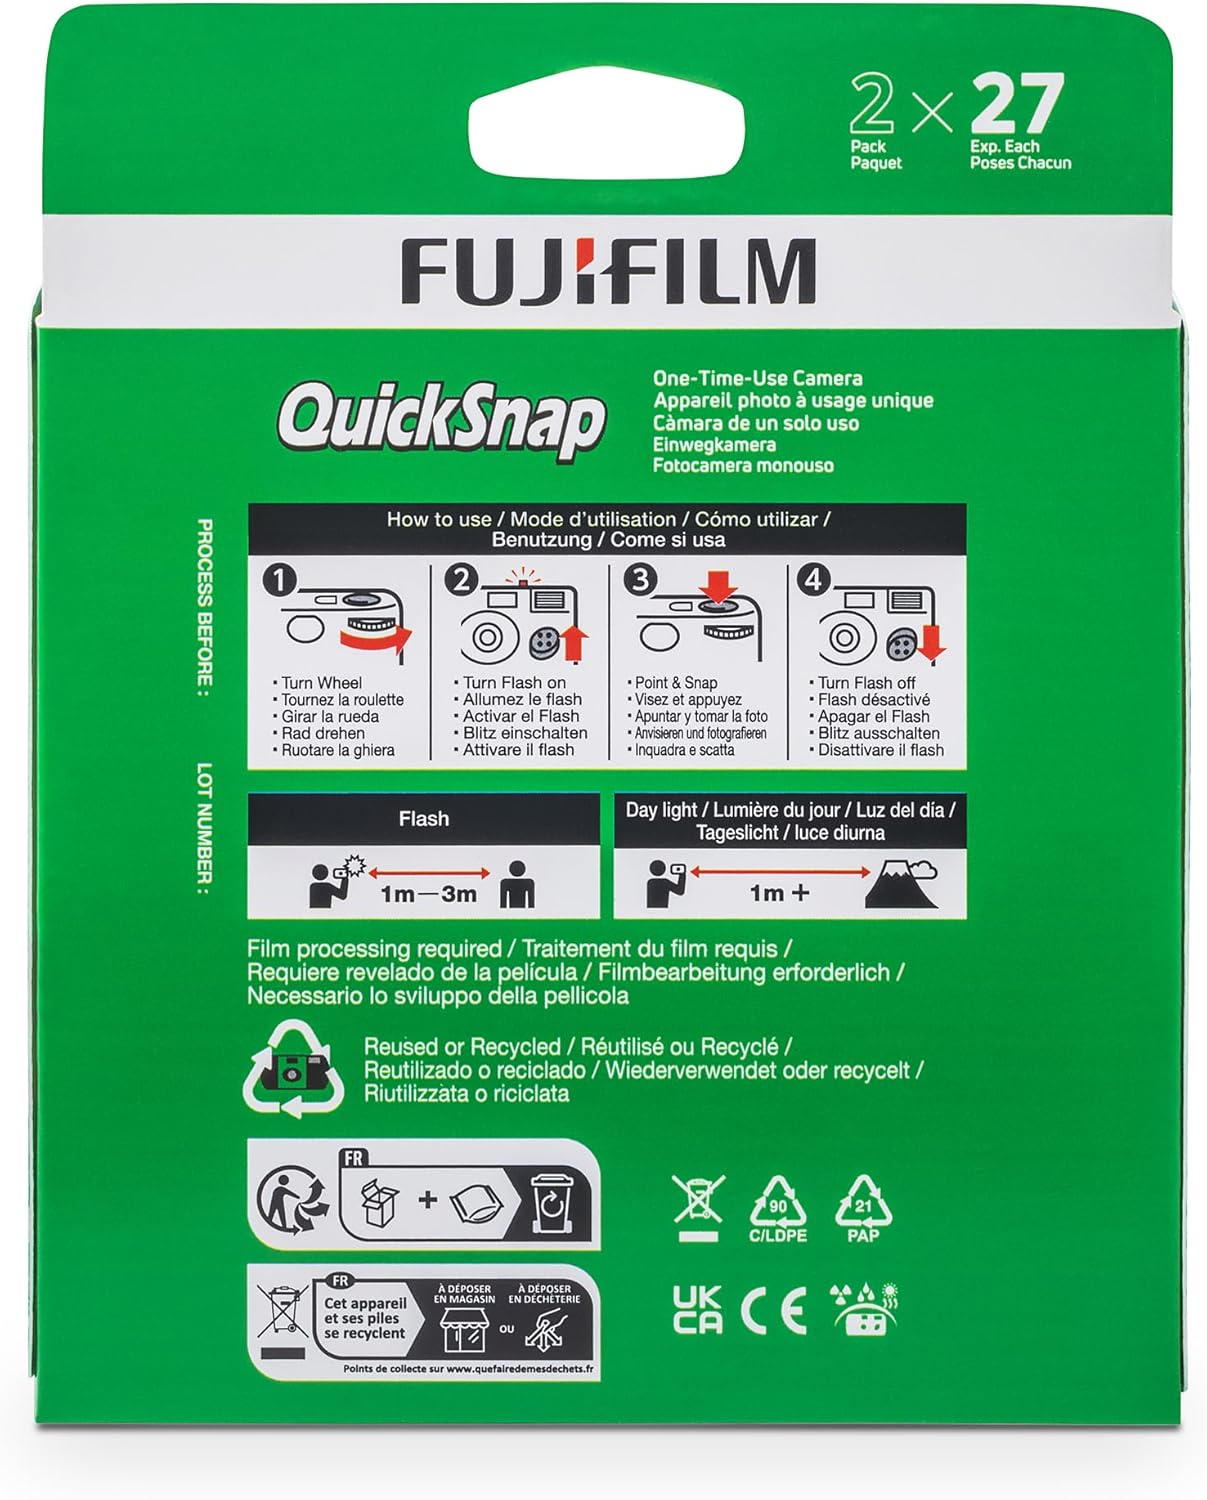
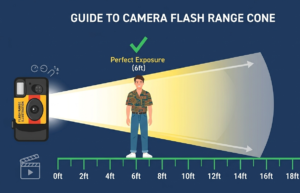
5. Check the Flash Range Threshold
A built-in single-use flash bulb is quite small and only has a throwing range of about 4 to 10 feet. If you try to use the flash to capture a large musical concert stage from the back stadium row, or a night cityscape view, the light output will dissolve into nothingness, leaving you with a muddy, underexposed, dark scan.
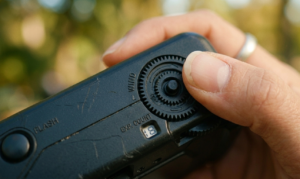
6. Roll the Winding Wheel Until It Fully Locks
Before you can take your next creative shot, you must advance the internal film roll manually using your thumb on the serrated winding wheel. Make sure you spin it firmly to the right until it clicks loudly and locks completely into position. Partial advances can lead to accidental overlapping double-exposures.
7. Look For High-Contrast Background Elements
Since these plastic lenses have soft edge-to-edge rendering profiles, subjects can easily blend into chaotic backgrounds. Try to frame your friends or family members against clean, high-contrast backdrops like a clear blue sky, a plain white wall, or deep contrasting green foliage—to give your images an organic pop.

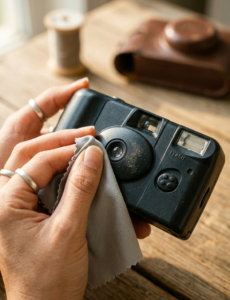
8. Keep Your Lens Protected From Smudges and Scratches
Disposable structures do not come with sliding lens caps. If you toss your camera raw into a dusty backpack, a sandy beach bag, or a tight denim pocket, the front plastic piece will gather greasy fingerprint smudges and micro-scratches. Wipe the front element gently with a clean micro-fiber cloth or your cotton shirt before your shooting session.
9. Shoot With the Sun Behind You
Harsh background light lines can completely blind and wash out cheap analog lenses, turning your subjects into dark silhouettes. For the absolute best results, position yourself so that the sun or the main room light source is shining from behind your shoulders directly onto the front face of the subject you are tracking.

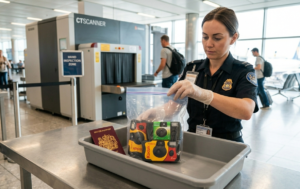
10. Don't Let Airport CT Scanners Fog Your Film Roll
If you are traveling across regional airport terminals, never pack your unexposed or partially shot disposable setups inside your heavy checked luggage. Modern airport baggage systems utilize high-dose CT scanners that can leave wavy gray fog streaks across raw film. Keep your units inside your personal carry-on pouch and request a gentle hand inspection at security gates.
The Cheat Sheet to Avoid Bad Scans:
Focus Check (Sharp Pictures)
Stand at least 4 feet away from anything you are shooting and hold the camera body perfectly rigid with both hands to kill mechanical motion vibration blur.
Exposure Check (Bright Pictures)
Always trigger the electronic flash button inside shadow areas, indoor parties, or night hangouts. Ensure your target falls within the 4-10 feet illumination range.
Frequently Asked Questions
Q1: Why do some of my indoor disposable pictures look entirely black and grainy? +
This happens because the native light levels were too low and the flash switch was either turned off or the subject was standing too far away from the camera. When film layers do not get enough light energy, the automated scanner boosts the grain trying to find details, leading to muddy dark frames.
Q2: Can I reload a new roll of 35mm film into a standard disposable camera shell? +
Standard single-use options are legally designed to be cracked open and recycled by professional photo processing labs after extracting the internal film. While there are DIY internet tutorials showing how to manually reset the gears in a darkroom, it is dangerous due to the internal flash capacitor shock risk. If you want reloadable features, buy a designated reusable plastic camera instead.
Leave a Reply